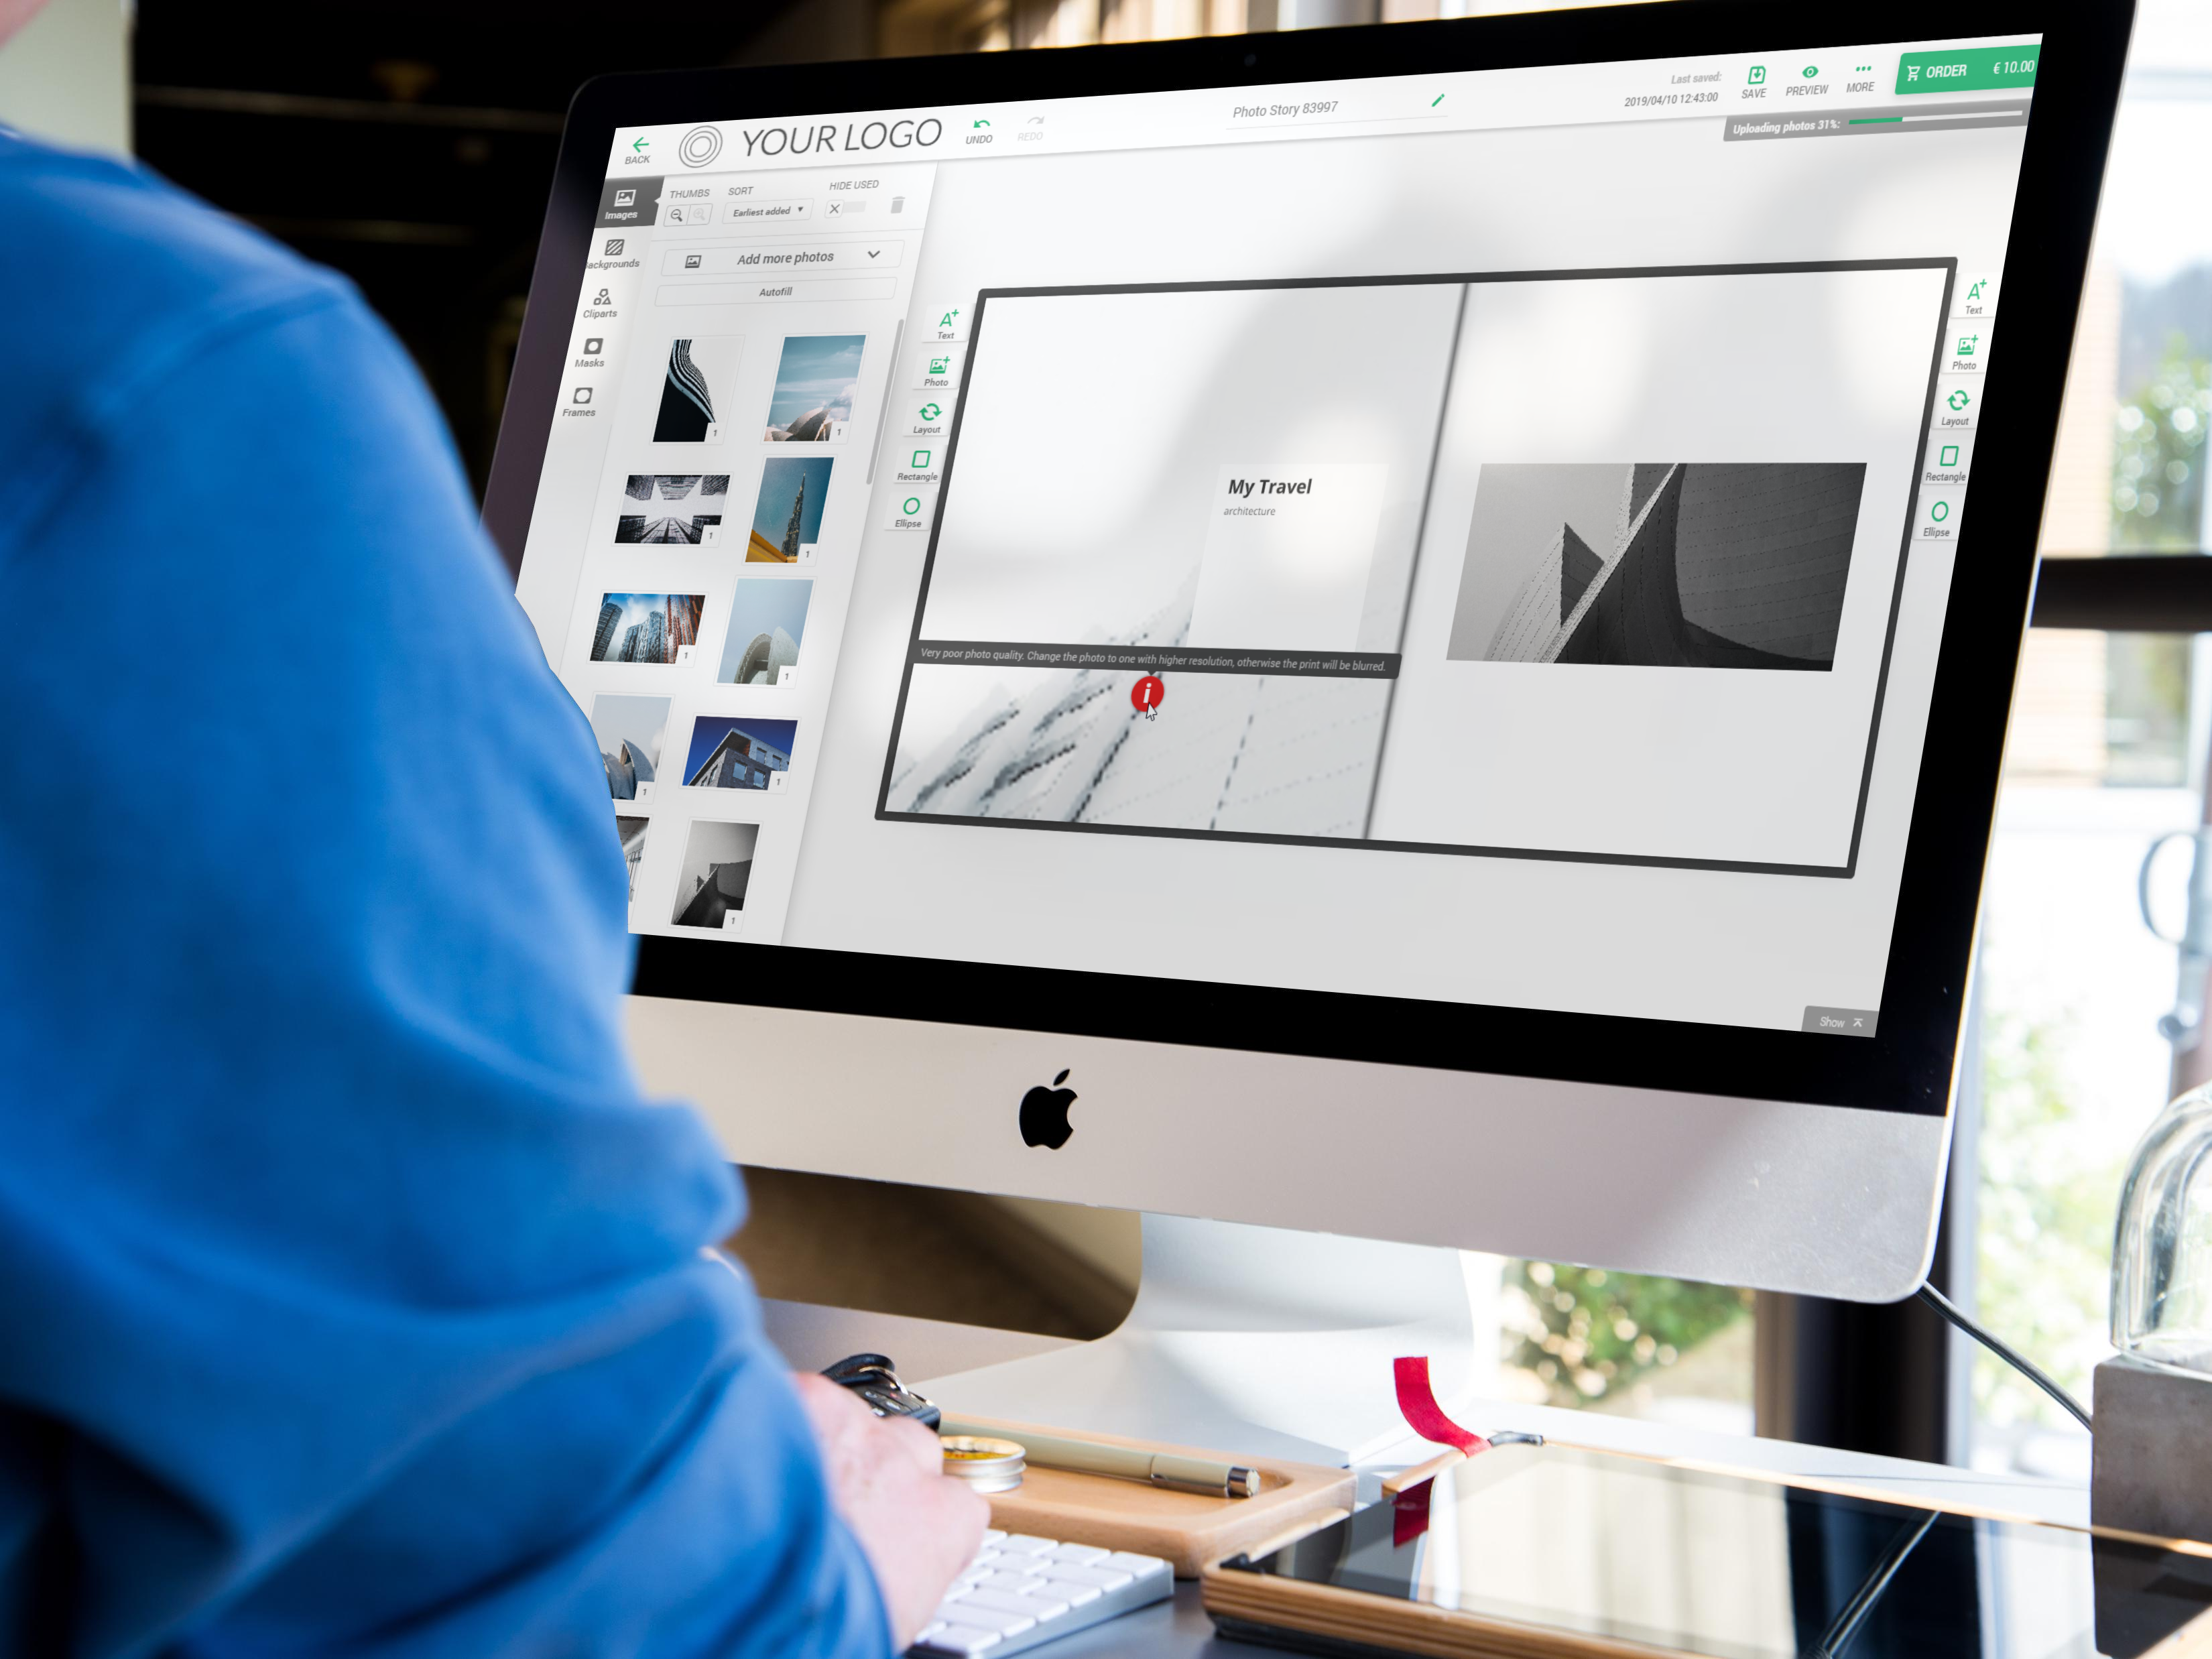
One of the most common reasons for complaints in the photo products business is a quality issue. This may be a result of a missing verification process. Customers’ inattention, lack of information and guidance or deliberately leaving blurred images in the project may cause dissatisfaction with the final result.
An additional factor is the complexity of the whole designing process. Sometimes users spend a lot of time creating a photobook. The record-holder had spent over a week in Printbox Editor creating a photobook project.
To prevent situations where your customer buys an incomplete project or of poor quality by accident – you can use validation mechanisms, or verify the accuracy and quality. The system observes errors and informs your customers about those issues in the Editor before they buy.
Is this a good solution? One could argue. On the one hand – it is inconvenient and can irritate some users, but surely nobody will abandon the project because of it.
From our perspective, it is a “must-have” feature in the online editor for photo products. It reduces the number of complaints, allows customers to avoid errors, and increases satisfaction. It is unpleasant and disappointing to receive a beautiful photobook with blank pages.
Project validation in Printbox – how does it look like?
There is more than one stage of project validation and they can be divided into 2 categories: visible and invisible to customers.
The visible verification has 3 steps:
- First, we check whether the texts that are in a safe area will look good in print, or would not get cut off.
- The next step is to check to see if all the photo slots are filled with photos. If not, the system flags this. If the theme is filled with photos without empty space, the system proceeds to the next step.
- Finally, we check whether the customer looked through and visited each page. This is important, especially when the customer uses the auto-fill option to complete the book automatically by randomly filling the empty spaces.
In addition to these three steps, we constantly check whether images are of good quality and will look good in print. If your customer adds a small photo or enlarges it (zoom in), a yellow badge is displayed and there will be a message that the image will not look good when printed.
It all happens before the project is sent to the server.
Invisible internal validation
Regardless of the design stage (whether all the empty photo slots are filled with photos, the pages are revised, etc.) – if your customer accepts the project as it is, it is sent to the server. The internal validation takes place in the background when the user clicks on the “Save” or the “Order” button. There is a progress bar when the project is saved.
If the server responds with information that there are some missing elements (pictures not uploaded or missing assets):
- it waits until they are uploaded
- if there is an error (for example, when a user has uploaded a photo, which is deleted from his or her hard drive immediately afterwards) there will be a notification that “we have failed to save the project properly and that those missing assets will be deleted.” This is a protection for the most extreme situation – such errors do not happen hardly at all, but in case they do, the system should be foolproof.
When the project is already on the server, we check again if all the photos and assets are prepared for rendering. This is the moment when your customers’ projects are successfully completed, the file is rendered and sent to the printer.
All these processes are necessary to ensure that the customer is satisfied with the final effect of their work.


